I've been thinking a lot about 'authenticity' in the SCA context lately.
On the one hand it seems like a kinda silly concern, I mean, we've got personas from all corners of the globe, walks of life, and hundreds to thousands of years of human history all thrown together in a little itty bitty space carved out from the surrounding 'real world.' Even if said world wasn't encroaching on every side, our play space is a great deal more like Riverworld than Medieval Europe! So why bother?
On another hand, following my medieval interests/passions to the fullest extent I can (or care to) manage at any given time is one of the things that interests me about the SCA. I hand sew my garb and laboriously stitch my way through endless eyelets because I *like* it. Both the process, and knowing that I have done my best to make something both beautiful and as 'in-period' and inoffensive as I possibly can.
So, yet another hand! When I consider the probable 'authenticity' of my gear - projects - whatever, inoffensiveness is something I strive for. By which I mean that I work to reduce the likelihood of my person/encampment knocking someone *else* out of the dream. I am very concerned with trying to present plausibly 'in-period' manifestations of the material goods I need to make my SCA play comfortable for modern me, while keeping in mind another couple of concerns (more hands).
Hand 4: Can I afford it (in terms of money)?
Hand 5: Is this a sound decision for me in relation to the modern world I live in? AKA, can the earth afford it? This one is tricksy for me. I will often, but not always go for the product or material which seems the most ecologically sound, or safest, or most renewable even if it is the farthest thing from what my persona would have had, 'in-period.' Provided that it still looks and feels right to me.
And the list of hands just keeps on going...
I have my reasons for all of my decisions. The interesting thing to me is that those decisions vary from "I just don't really care about this item, at least not yet" (which would explain my choice of blankets for my encampment) thru "I chose to use this *totally* non period item because it presents a period appearance and fulfills some other need I have" (in example, my gowns made out of beautifully woven but largely synthetic upholstery fabric and my in-tent chandeliers with electric candles) to "I want to try to replicate the shape, use, method, style and feel of this authentic article which my persona could well have owned, and I'm going to do my very best to do it in a way which would seem within the bounds of reason for a person of her time" (witness my lovely folding table 'with it's chains' which will appear in the blog at some point in the future.)
It's all about balance and I find the process of considering and actively *choosing* the right item to fill a place in my list of necessary gear very interesting in and of itself.
Which brings me to the shopping...
My darling gave me a 2 burner Coleman stove for Christmas this year. Which was a perfect gift since it meant we *didn't* have to worry about either watching over a campfire, or starving to death at Pennsic. But I keep finding myself interested in having a second option sometimes for convenience--like a solar oven I could just put things into before I head out of camp for the day--and sometimes for pretty--which is how I wandered into these...
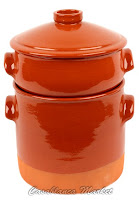
Couscoussier * Brazier * Cazuela

I keep thinking how nice it would be to have a neat little charcoal fire, make a little stew, do a little barbecue right over the coals...and the pots can be used on a gas burner too...hmmm.
I could order it all on line, all it would take is $$ and it's all perfectly plausible--and largely documentable--for late period Italy!
Believe it or not, only a small part of the point of this post is to show off the cool stuff I found (although it is cool!) Mostly I am struck by how a relatively small change in items can dramatically increase the authenticity and inoffensiveness of my encampment. I just switch out the cheap aluminum "camping" pans I was planning to buy for a couple of cazuelas and voila! Instantly improved authenticity of cooking experience and the look on the table. Someday I may decide to go with a fire instead of the Coleman stove and Voila! Completely inoffensive cooking. All without doing any kind of research into period cookware because, honestly, I'm just not there yet.
Which I guess is my point.
I think we have to give ourselves permission to be 'not there yet.'
Furthermore, I like to think that if we do that, and make our subsequent choices as inoffensive as we reasonably can, the 'authenticity' of our individual and collective journeying in these later middle ages will be much improved, quite painlessly!


 Isn't he just...yummy?


 From Vittore CARPACCIO, The Healing of the Madman, c. 1496
  From Domenico TINTORETTO (ROBUSTI), Battle of Salvorec. 1605 both found at the Web Gallery of Art


 Note: click on "Albumler" and then "Cadirlar" or, if you can find it, "Askerî Kıyafetler Salonu,' or "Üst Kat Salonlar" and then "Çadırlar Galerisi." I warn you, the links shown in the menu on the left of the page seem to change nearly every time I go to it. but keep trying. sometimes clicking on white space will make a whole new list of choices appear. (This works for me when the cursor, not the arrow is showing as the pointer.)
 As usual, if you click on the picture it will take you to sketch-up where you can pivot the view or download the model to tinker with.
 Musee Episcopal, Vich. Bacelona. "as in many early examples, the frame can be dismounted." From "Furniture Past & Present, L. Boger, Doubleday, 1966
 Spanish Interiors and Furniture: Photographs and Drawings, Arthur Byne and Mildred Stapley, William Helburn, Inc. 1921
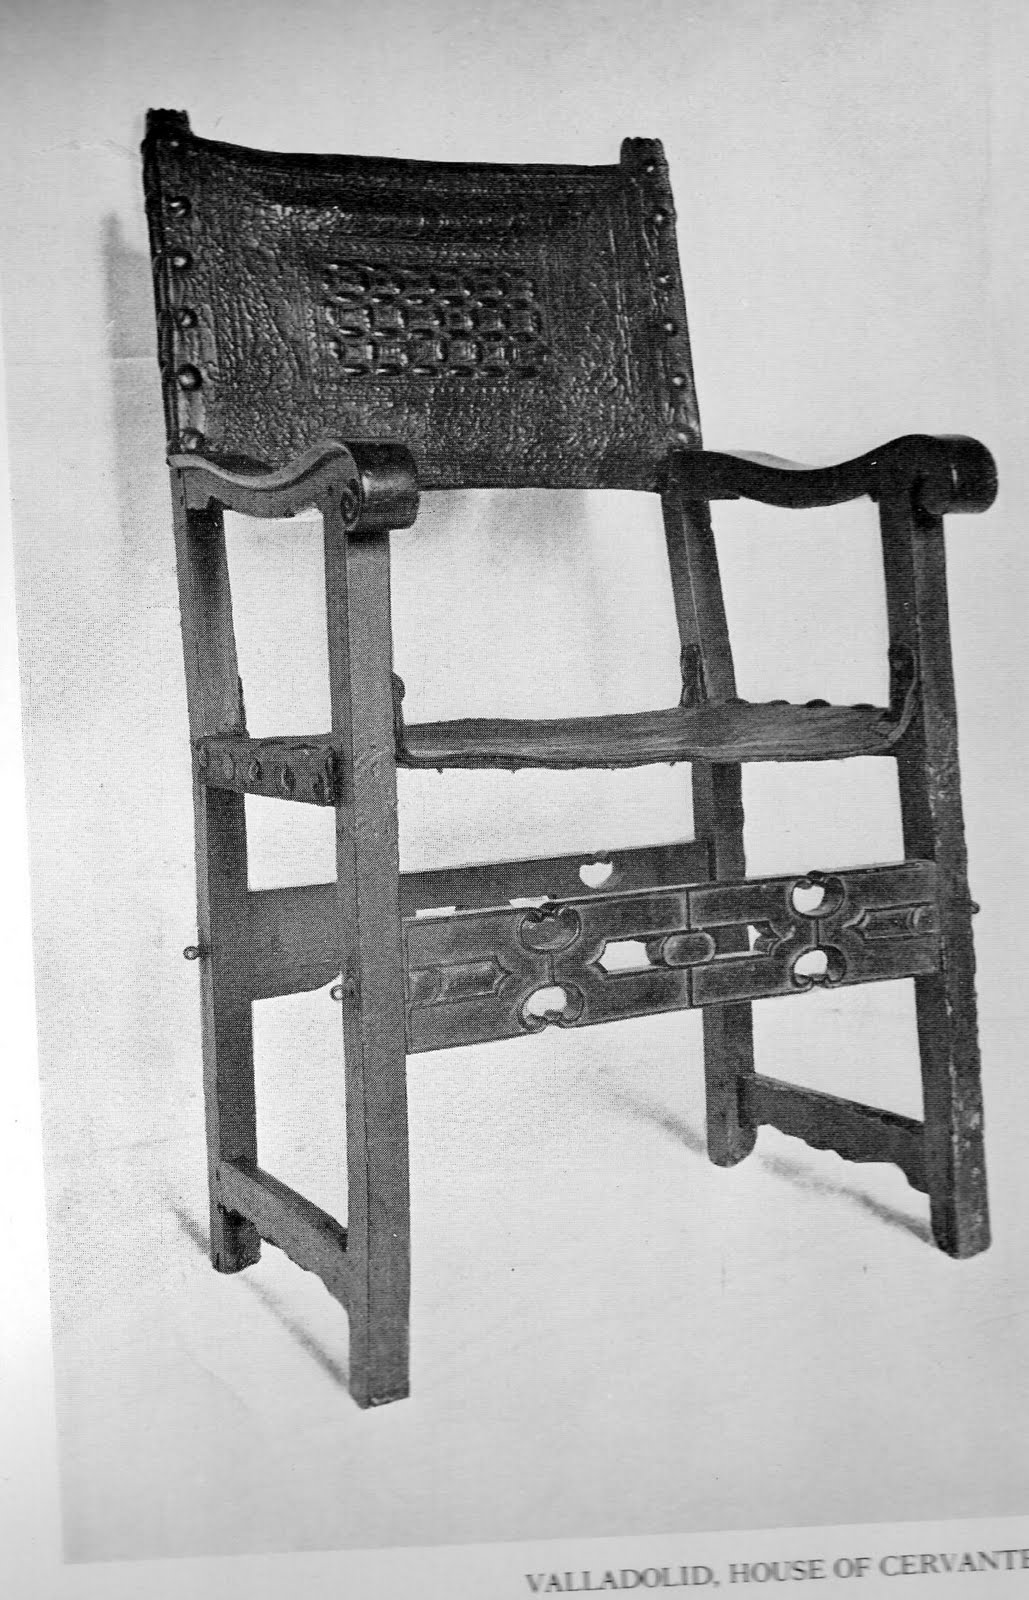


 It will have both a queen size bed and an additional sleeping berth/daybed, a "working" fireplace (canisters of gel fuel only), an outdoor kitchen based on drawers which pull out from under the bed, and both a woodpile and stone water trough to cover the wheels.