Wednesday, July 16, 2014

IRCC4 - Feather work commences

When I was working on my last feather fan I discovered an excellent tutorial regarding creating full beautifully shaped ostrich feather plumes: http://lynnmcmasters.com/OstrichPlumes.html.

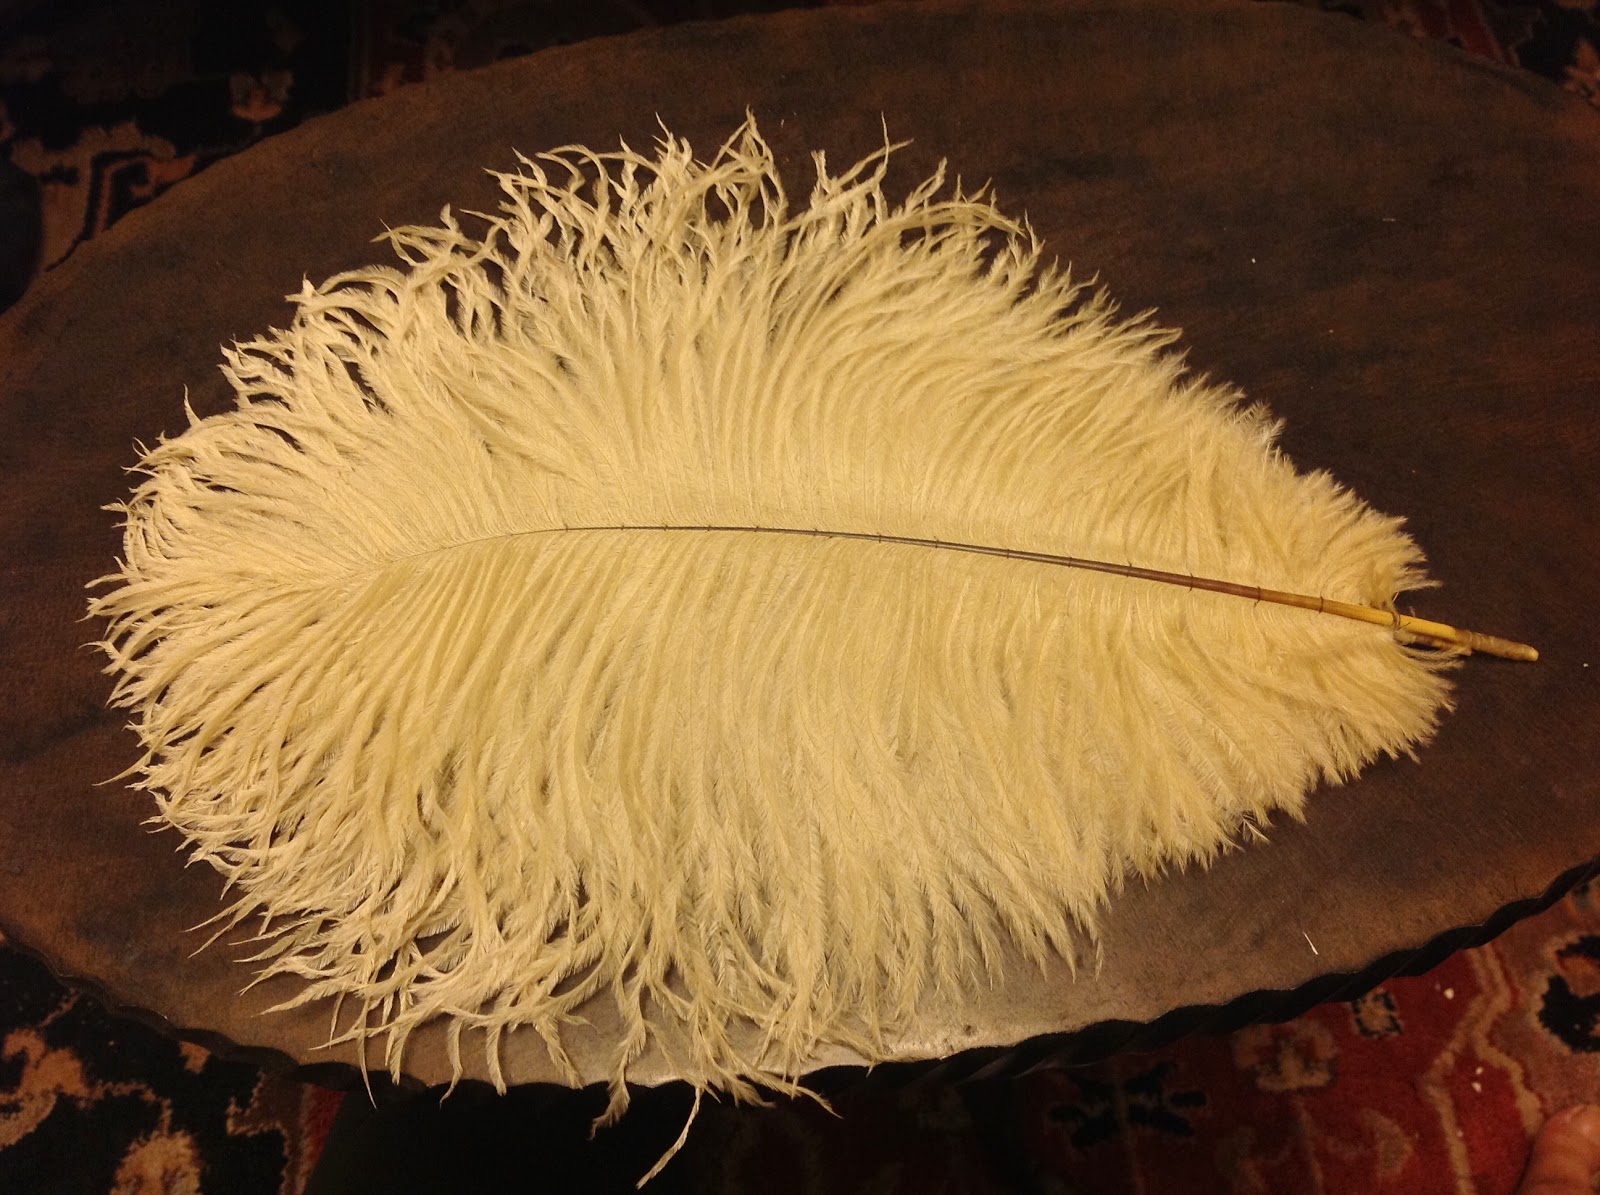
In my opinion the feathers for this year's fan shouldn't be all that long, but they do need to be lush and curvy so the first step is to take the feathers I purchased and convert them into plumes! Interestingly, the process is rather like tying up a roast. You create a series of connected loops which hold the feathers together and tie them off at the end. I did mine thus:

Match feathers together in sets of two as best you can. I look for feathers which are similar in length and curve and which will complement each other when assembled. This means that I wouldn't pair together two feathes which were both skimpy on the right side, but I would pair a right-side-skimpy feather with a full or left side skimpy one.


 I stack the better looking feather on top of the less handsome one, flip them over so I am facing the backs and match the tips so the lengths look well. I take a needle threaded with a length of thread approximately three-to-four times the length of the feathers I'm working on and take a stitch around the stem by sticking the needle between the quills of the feather and coming back on the other side.


Then I tie the two ends of the thread together in a square knot, leaving one tail extending about 5" past the length of the feathers and the other with the bulk of the thread on the needle.


And then I get a little wild. I left the long tail because I want to be able to tie off in a square knot also, but I don't want the bulk of two threads when I'm stitching the feathers together so I lift the upper feather and work the thread clear of all the quills so that I can run my long tail down the center spine between the feather layers.


Once I close my little feather and thread sandwich back up I start stiching them together just as instructed, making a chain of loops to encase both spines and my thread tail.


I make multiple loops at the end an finish it off with another square knot.


To finish I rescue any trapped quills by pulling them out with a pin so the whole feather looks beautiful


Much better!


Thursday, July 10, 2014

IRCC4 - Mango, Marigold, Ivory, Beige. The Feathers are Here!

This year's inspiration fan is a fluffy multicolor marvel.


Since the feather selection in my town has dropped off considerably of late (and it was never good) I decided to finally try getting feathers on the internet. Did you know they come in colors? LOTS of colors! And many sizes, types and prices too. The inspiration fan strikes me as being fairly equal amounts of four different colors. I got 4 12-packs of dyed ostrich feather drabs in the 9"-12" length.
I plan to pair them up and stitch them together to make 6 plumes of each color. Perhaps I'll have extras!


Wednesday, July 9, 2014

IRCC4 - Parts for my fan have started to arrive

After a short stint of shopping on e-bay I found a great option for a metal frame for my first accessory item. I think this hairbrush will make a great feather fan!


Step one was to take it apart. The brush is held in the frame with three short nails so I just pried them up and pulled out the bits I found.


As you can see, there's quite a lot of stuff in there!

The original brush-head is wood and perfectly shaped to fit the frame so I will probably try to use it to hold my feathers. I think I can remove what remains of the original bristles pretty easily (they are in the disintegrating phase) and if I drill the original holes all th way through the board I should have lots of attachment points.  Now I just have to keep resisting the urge to use it as a giant bubble wand!

My feathers are due to arrive today or tomorrow so I hope to make some progress on this layer this weekend.

Tuesday, June 10, 2014

IRCC4 - Busy, busy , busy!

I find it hard to keep it simple. I may be the very last to discover this fact, but it's true! :)

Since I can't yet bear to pull out the blue silk embroidery from the sleeves I stated for a camicia for last years IRCC (3)--nor (apparently) can I stand to finish that embroidery--I was a short some pieces for my new Franken-camica for IRCC4. After much hem-ing and haw-ing I decided to use my original front and back panels as the sleeves for this camicia and add new panels for the body of the dress. And then began the debate about finishing...hemstiching...insertion stiching...maybe I should just go ahead and finish the original sleeves after all....

Eventually I was able to reason with myself and stich together


 and hem.

 
This whole thng goes a lot faster when I'm not fancying it up!

Saturday, May 31, 2014

IRCC 4 - The Plan

I'm inspired to attempt to recreate another picture that I happen to own appropriate fabric for the gown

Leandro da Ponte Bassano - Summer (July) - 1595/1600 - dining outdoors


I intend to stay true to the details of the original so...

Layer one: A white camicia with a small self ruffle at the neck and wrists.

I already have a plain white cotton camicia that I made about a decade ago and I love most things about it except for two things, 1) I sort of gather/smocked using a single row of back stitch that tends to break when under stress, and 2) the neckline tends to disappear below the neckline of the gown when I am getting dressed-especially in the back-and after I drag it out, the fabric tends to pooch out underneath the stitching line and give me funny puffs between the neckline of the bodice and the neckline of the camicia.

I plan to make my new camicia out of linen and smock and line the neckline using the instructions from http://katafalk.wordpress.com/2012/06/26/patternmaking-for-the-kampfrau-hemd-chemise/. (Adapted to place the neckline above the bust rather than at the neck, of course.)

Layer two: A black and gold open front sottana, trimmed in gold, with ladder lacing and matching sleeves.

Layer three: A sheer silk overgown with gold trim. I am fascinated by sheer silk overgowns as seen in the picture. Layer three is going to be a big adventure as I try to collect more information about this variation of outerwear.

Layer four: The painting includes a set of pearl earrings with a matching necklace featuring a drop pearl in the center, a white handkerchief with lace edging, a white partlet with an attached ruff and a yellow and white ostrich feather fan with a gold sculptured handle. I think those all sound mighty fine, so that's the plan!

Wednesday, May 28, 2014

Treasure trove of images of medieval people of color!

I've just run into the most wonderful blog, full of images I've not seen before, and sorted by date!

http://medievalpoc.org/mission-statement/


Sunday, May 18, 2014

Medieval/Renaissance Geek...Runs in the Family

My Grandmother died a few years back and among other things I inherited a cookbook focused on medieval cooking and feasting. Now her sister, my Great Aunt, died just before Easter and as momentos from her estate I picked three brass rubbings that she and Grandma made from Medieval English burial monuments and this absolutely humongous cookie mold. I think the Ren. Geek blood skipped a generation with my Mom, but I look forward to keeping the family tradition alive. :)

And I'll be using this mold at our next Feast!