Saturday, May 18, 2013

IRCC3 Layer 4b - Fan handle in progress

I too am inspired to make an interpretation based on Lelio Orsi's lovely fan design held in the collection of the British Museum. I'm not much of a carver so I had been thinking about the possibility of sculpting in fimo over a metal wire armature...but it just strikes me as being to flimsy, especially at the attachment points for feathers and a girdle cord.

While pondering, it struck me that the shape of the common craft-wood candleholder strongly echoed the overall outline of the handle section of Orsi's design and I think that as it is actually made of solid wood it could probably endure the rigors of a metal eye bolt so I'm starting with a candle holder as my armature.


I've removed the brass cup which is supposed to protect the wood from candle flames and started shaping the wood by flattening the front and back of the main stem and original foot. I also removed the original cup portion and reshaped the remaining wood to something closer to the acorn/knob shape before the ring on the original design.
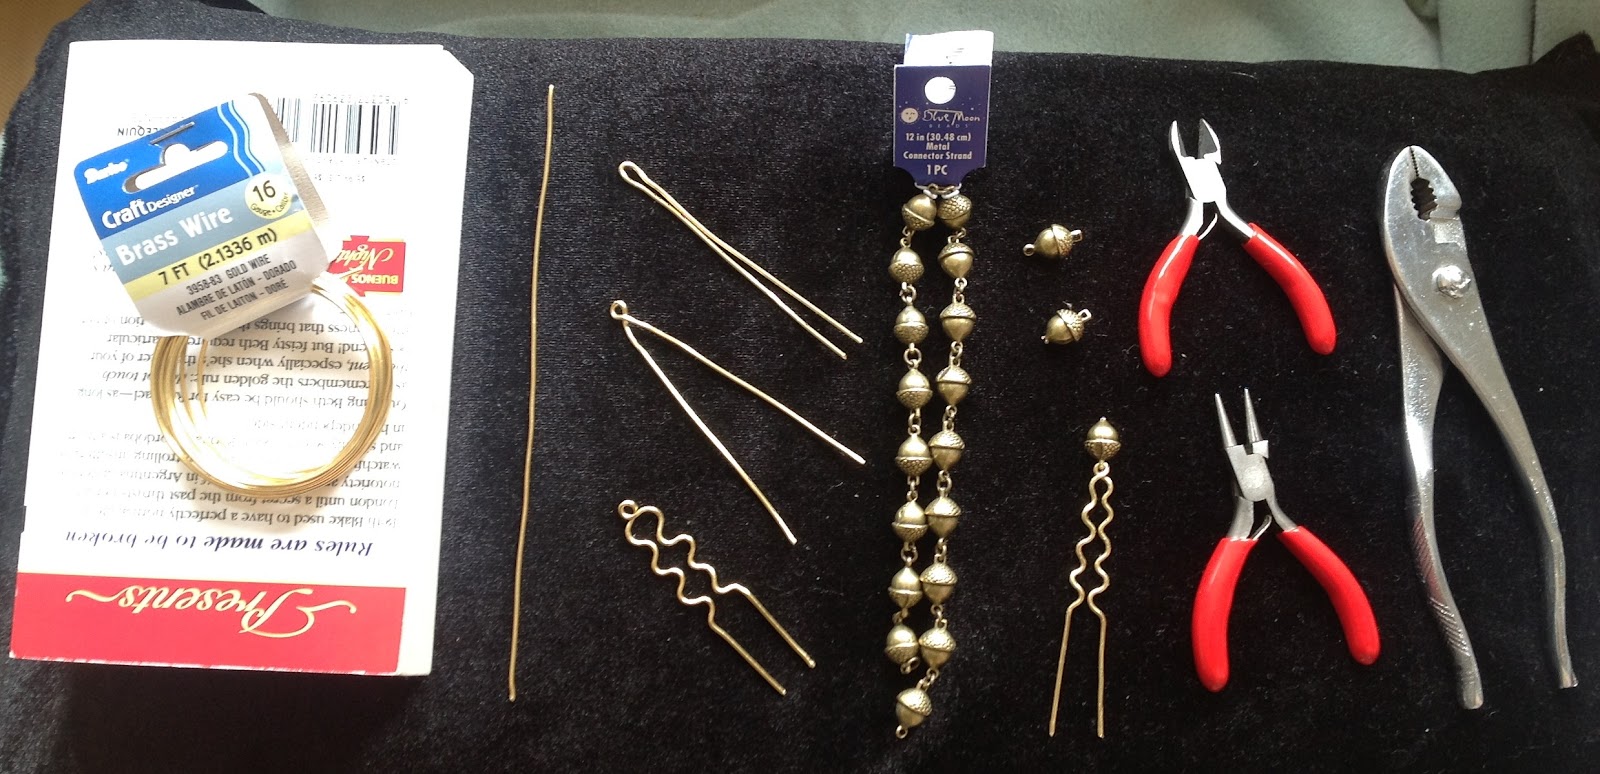


Craft basic


My version so far


Orsi's design

My plan is to Frakenstein this basic handle together with some pieces of craft wood, wire and an eyebolt, sculpt on detailing in plastic-wood (and possibly sculpty for the cameos) gild it and attach feathers.

I'll keep you posted. :)

Thursday, May 16, 2013

Wow. Sudden IRCC death

1 month gone, 1/4 of the participants gone too. It's kinda dangerous on this island.

Friday, May 10, 2013

On with the embroidery, etc.

Having realized that it will be a very long time before the pieces of my camicia are fully embroidered I have decided to take a new approach. I need the outer edges of each piece to be finished in order to do the assembly work, but the inner parts of the pattern?... Not so much.

Therefore I have decided to partially work the first line of stitching for the embroidery on all the borders-just the part up to the stems where the acorns break off. That will establish the over all pattern and I will be free to work the entire embroidery for a few repeats at the edges, assemble the garment, and work the rest as I have time.

It's still a pretty big project, but I feel a lot less restless knowing I'll be able to start some assembling soon.

Sunday, May 5, 2013

iRCC3 layer 4a - Done!

Or as close as makes no difference. :)


I hope to get to the filing and hammering before the challenge ends, but the hairpins are fully wearable so I'm calling it good!

IRCC3 - Accessory One: Hairpins

My embroidering continues but I was feeling a need to have a layer completed during the first month so I woke up today and took out my supplies for the smallest and most useful of my planned projects, hairpins!


Step-By-Step:

Unwind 16 gauge brass wire
Cut into sections measured against a handy paperback novel
Bend in half
Twist into tight loop on end
Bend each leg of hairpin back and forth to make a wavy line (which is modern but will actually HOLD my hair)
Separate decorative acorn brass beads from original chain
Snip off loop at tip of acorn
Slide acorn ornament onto loop at end of bent-wire hairpin and tighten
File cut edges as needed
Hammer legs of pin slightly flat to decrease softness of metal

I'm going to have 15 of these babies!

Saturday, May 4, 2013

Thursday, May 2, 2013

IRCC3 - OK, blackwork version 2


I think it's better...but still not quite right. Maybe only 1 thread in the blue silk...